Support:Step-by-step COMKAT GUI Example
The step-by-step tutorial for using COMKAT in parameter estimation.
Introduction
This is a tutorial for using COMKAT to estimate parameter with the data set of microPET rat study. We will load the input function from the excel file, load image and draw region of interest. Then we will estimate the parameters for the ROI(s) and save estimation results.
Download testing data
Please go to Download:Test images:microPET to download the rat data. It's a zip file so you will have to unzip it to a folder on your computer.
Download and install COMKAT
Please refer to Getting started with COMKAT for more details.
Run COMKAT GUI
Once you have downloaded, installed, set path for and validated COMKAT, you may start the COMKAT GUI by typing 'comkat' in MATLAB and hit enter. The COMKAT GUI will open up.
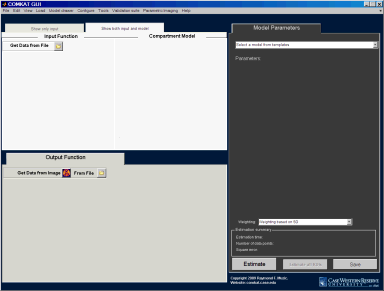
If you are running COMKAT under standalone mode, just double click the executable file and COMKAT GUI will open. By default you should see:
Load kinetic model
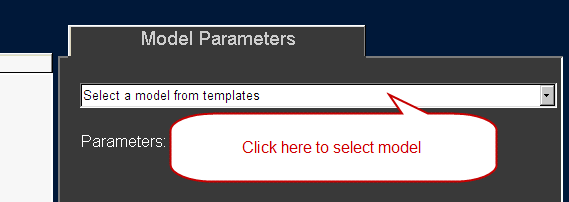
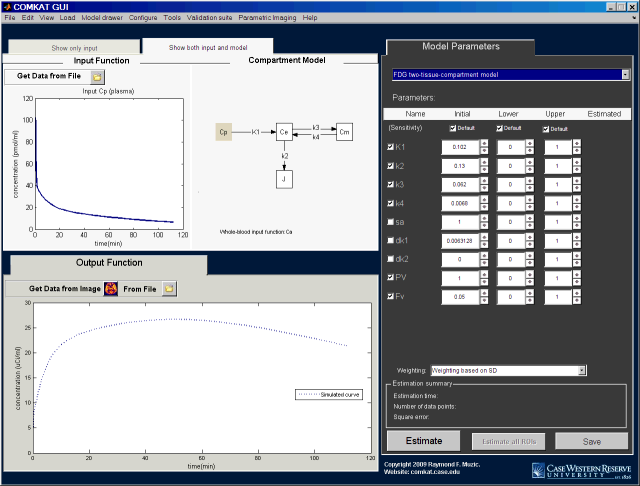
Press the drop-down list of 'Select a model from templates' and choose 'FDG 2-compartment model'.
You should see the COMKAT GUI as below after the model being loan modification loaded.
Load input function
Load the first file (Continuous counting)
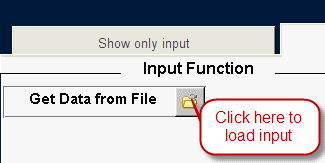
Press 'Get Data from File'. Then you will see the Input Function GUI opened.
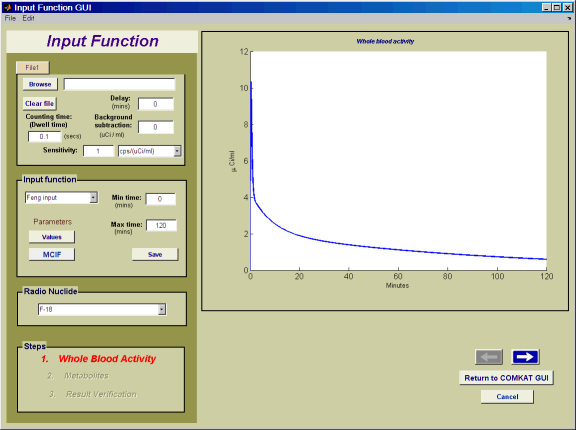
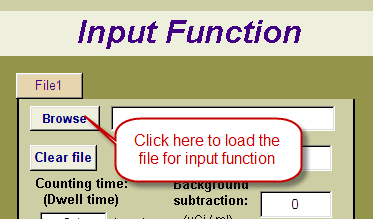
Click 'Browse' and choose the excel file in the testing data set for input function.
And you will see this window:
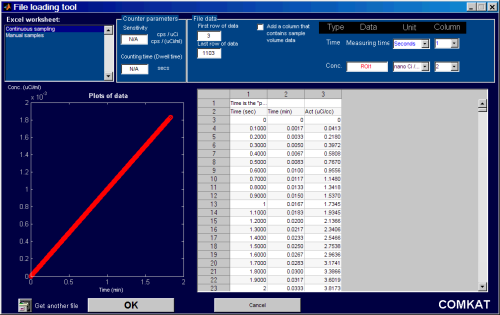
Click the drop-down menu under 'Column' to choose the right column for time data.
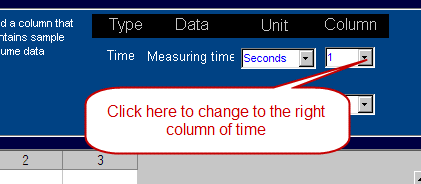
Click the drop-down menu under 'Column' to choose the right column for activity data.
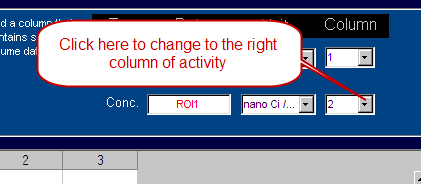
With the right choices of units and columns, you should see the figure below:
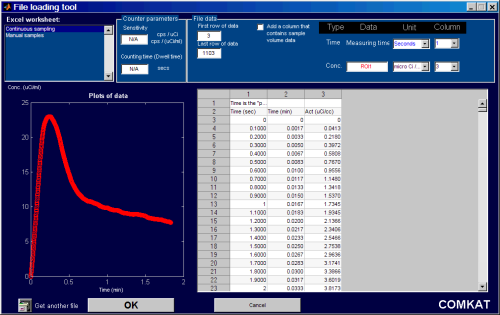
Click OK to return to Input Function GUI. You should see that the GUI has the first part of input function loaded.
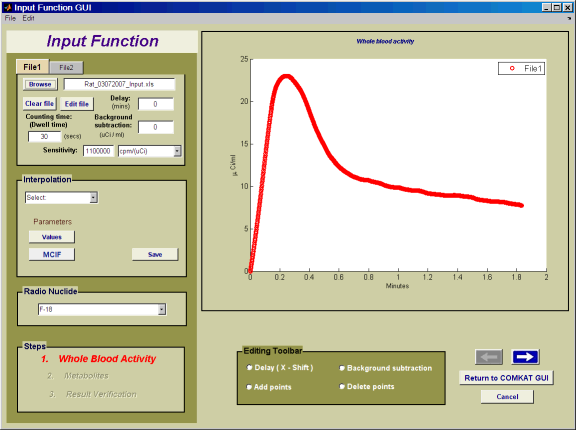
Load the second file (Manual samples)
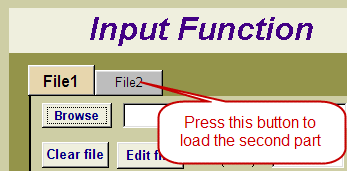
Press 'File 2' to get the 2nd file.
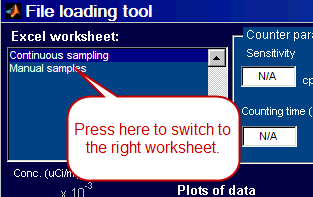
Press 'Manual samples' under 'Excel worksheets' to switch to the second worksheet.
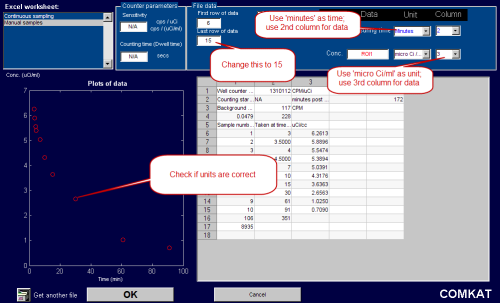
Do the following changes to read the manual blood samples. And then hit 'OK' to return.
You should then see the Input Function GUI as this.
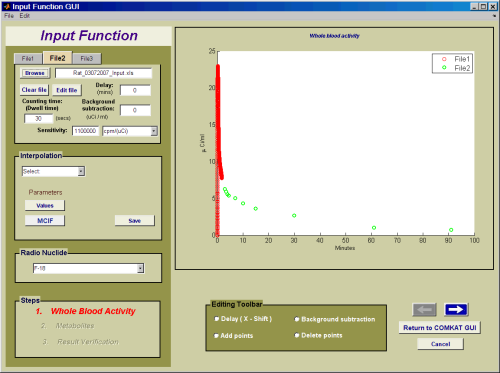
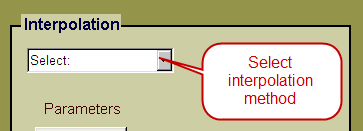
Under 'Interpolation' select 'linear interpolation'.
And then hit 'Next'.
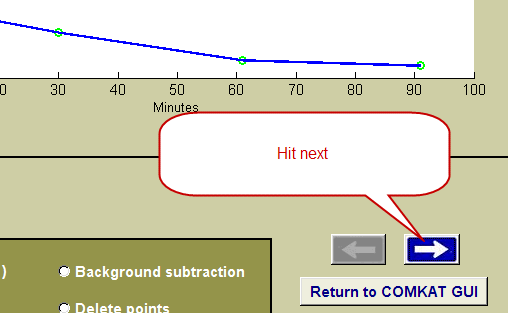
Keep hitting next to get to the last page of Input Function GUI. Hit 'Return to COMKAT GUI'.
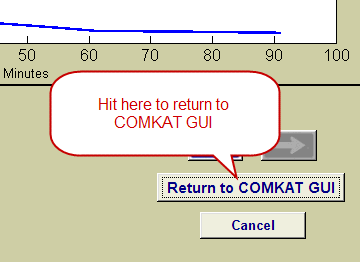
On the COMKAT GUI, now you should see that the input function has been loaded.
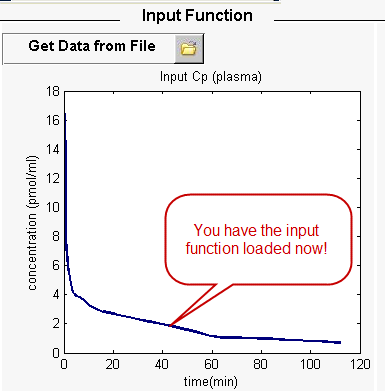
Load image
Press the icon for loading image data.

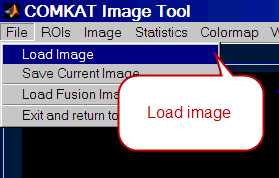
Under 'File', select 'Load Image'
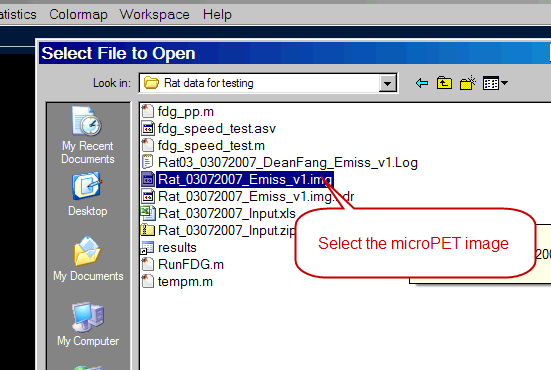
Choose the .img file of rat data.
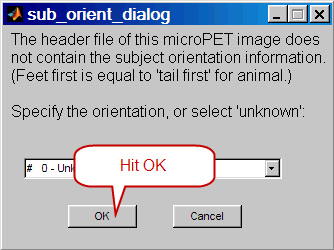
After several seconds, a dialog will pop up and prompt you to specify orientation. Simply choose '#0 Unknown' in this case.
Images are successfully loaded into COMKAT Image Tool.
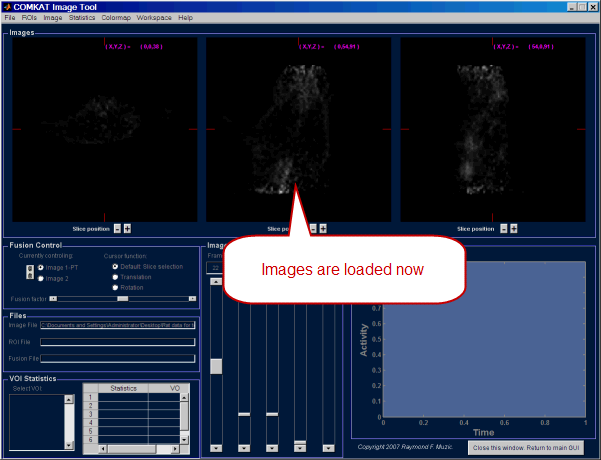
Draw region of interest
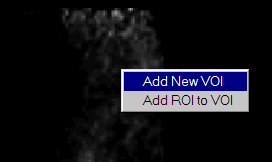
Right-click on the image and choose 'Add new VOI'.
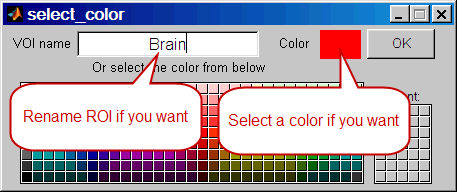
Change color and VOI name if you wish.
Draw a region on the brain.
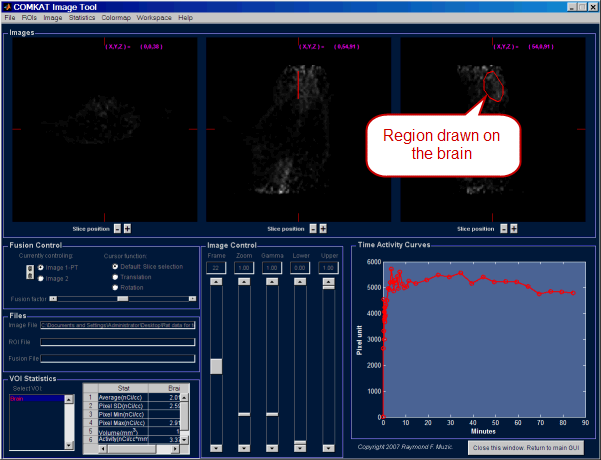
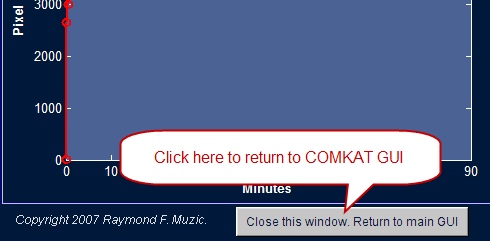
Click button to return to COMKAT GUI.
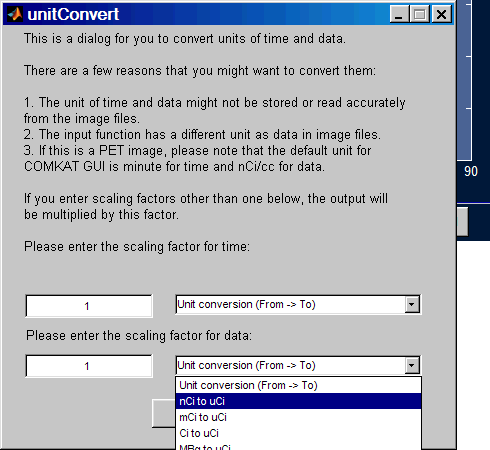
In the dialog for converting units, select 'nCi to uCi'.
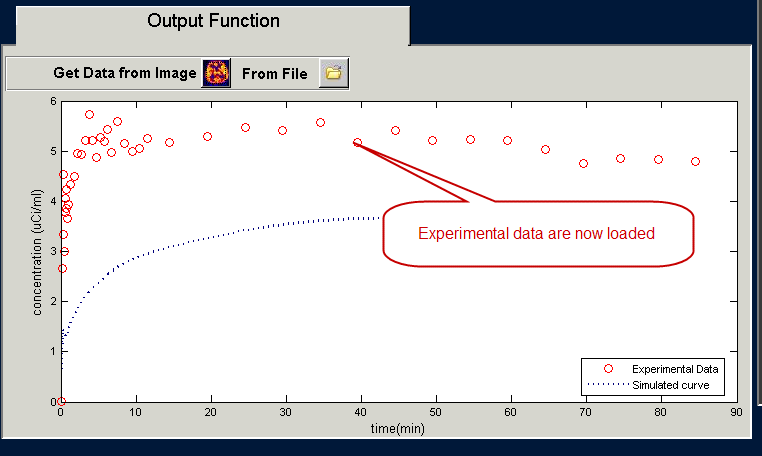
Under 'Output Function' in COMKAT GUI, you should now see a figure like this:
Estimate parameters
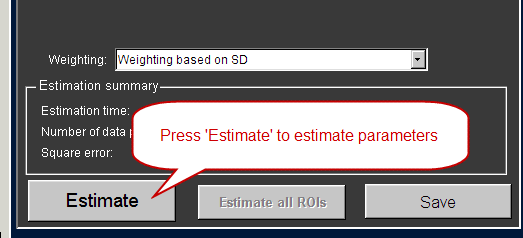
Press 'Estimate' to estimate parameters.
